The different shapes, sizes, colors, flavors, fillings, sauces…. the combinations! And when the pasta is homemade, well the experience is elevated once again. I was watching Stanley Tucci and Gennaro Contaldo shop for fresh pasta on “Searching for Italy” and their excitement at shopping for it, their admiration at the color and young woman who made it (and her amazing pasta machine), followed by their complete and utter enjoyment as they savored the finished product at home with some garlic and Amalfi lemons, hot peppers and wild arugula – well let’s just say that the whole thing was an experience for the senses… and I was just watching it on a screen! (But I swear I could taste it!!)
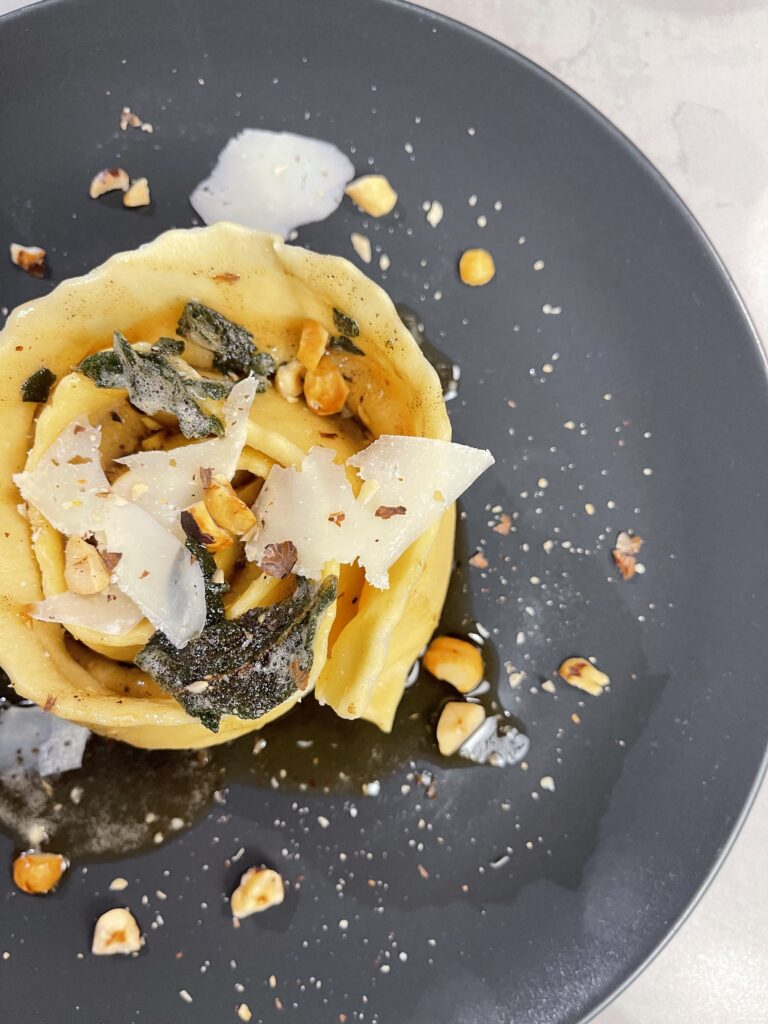
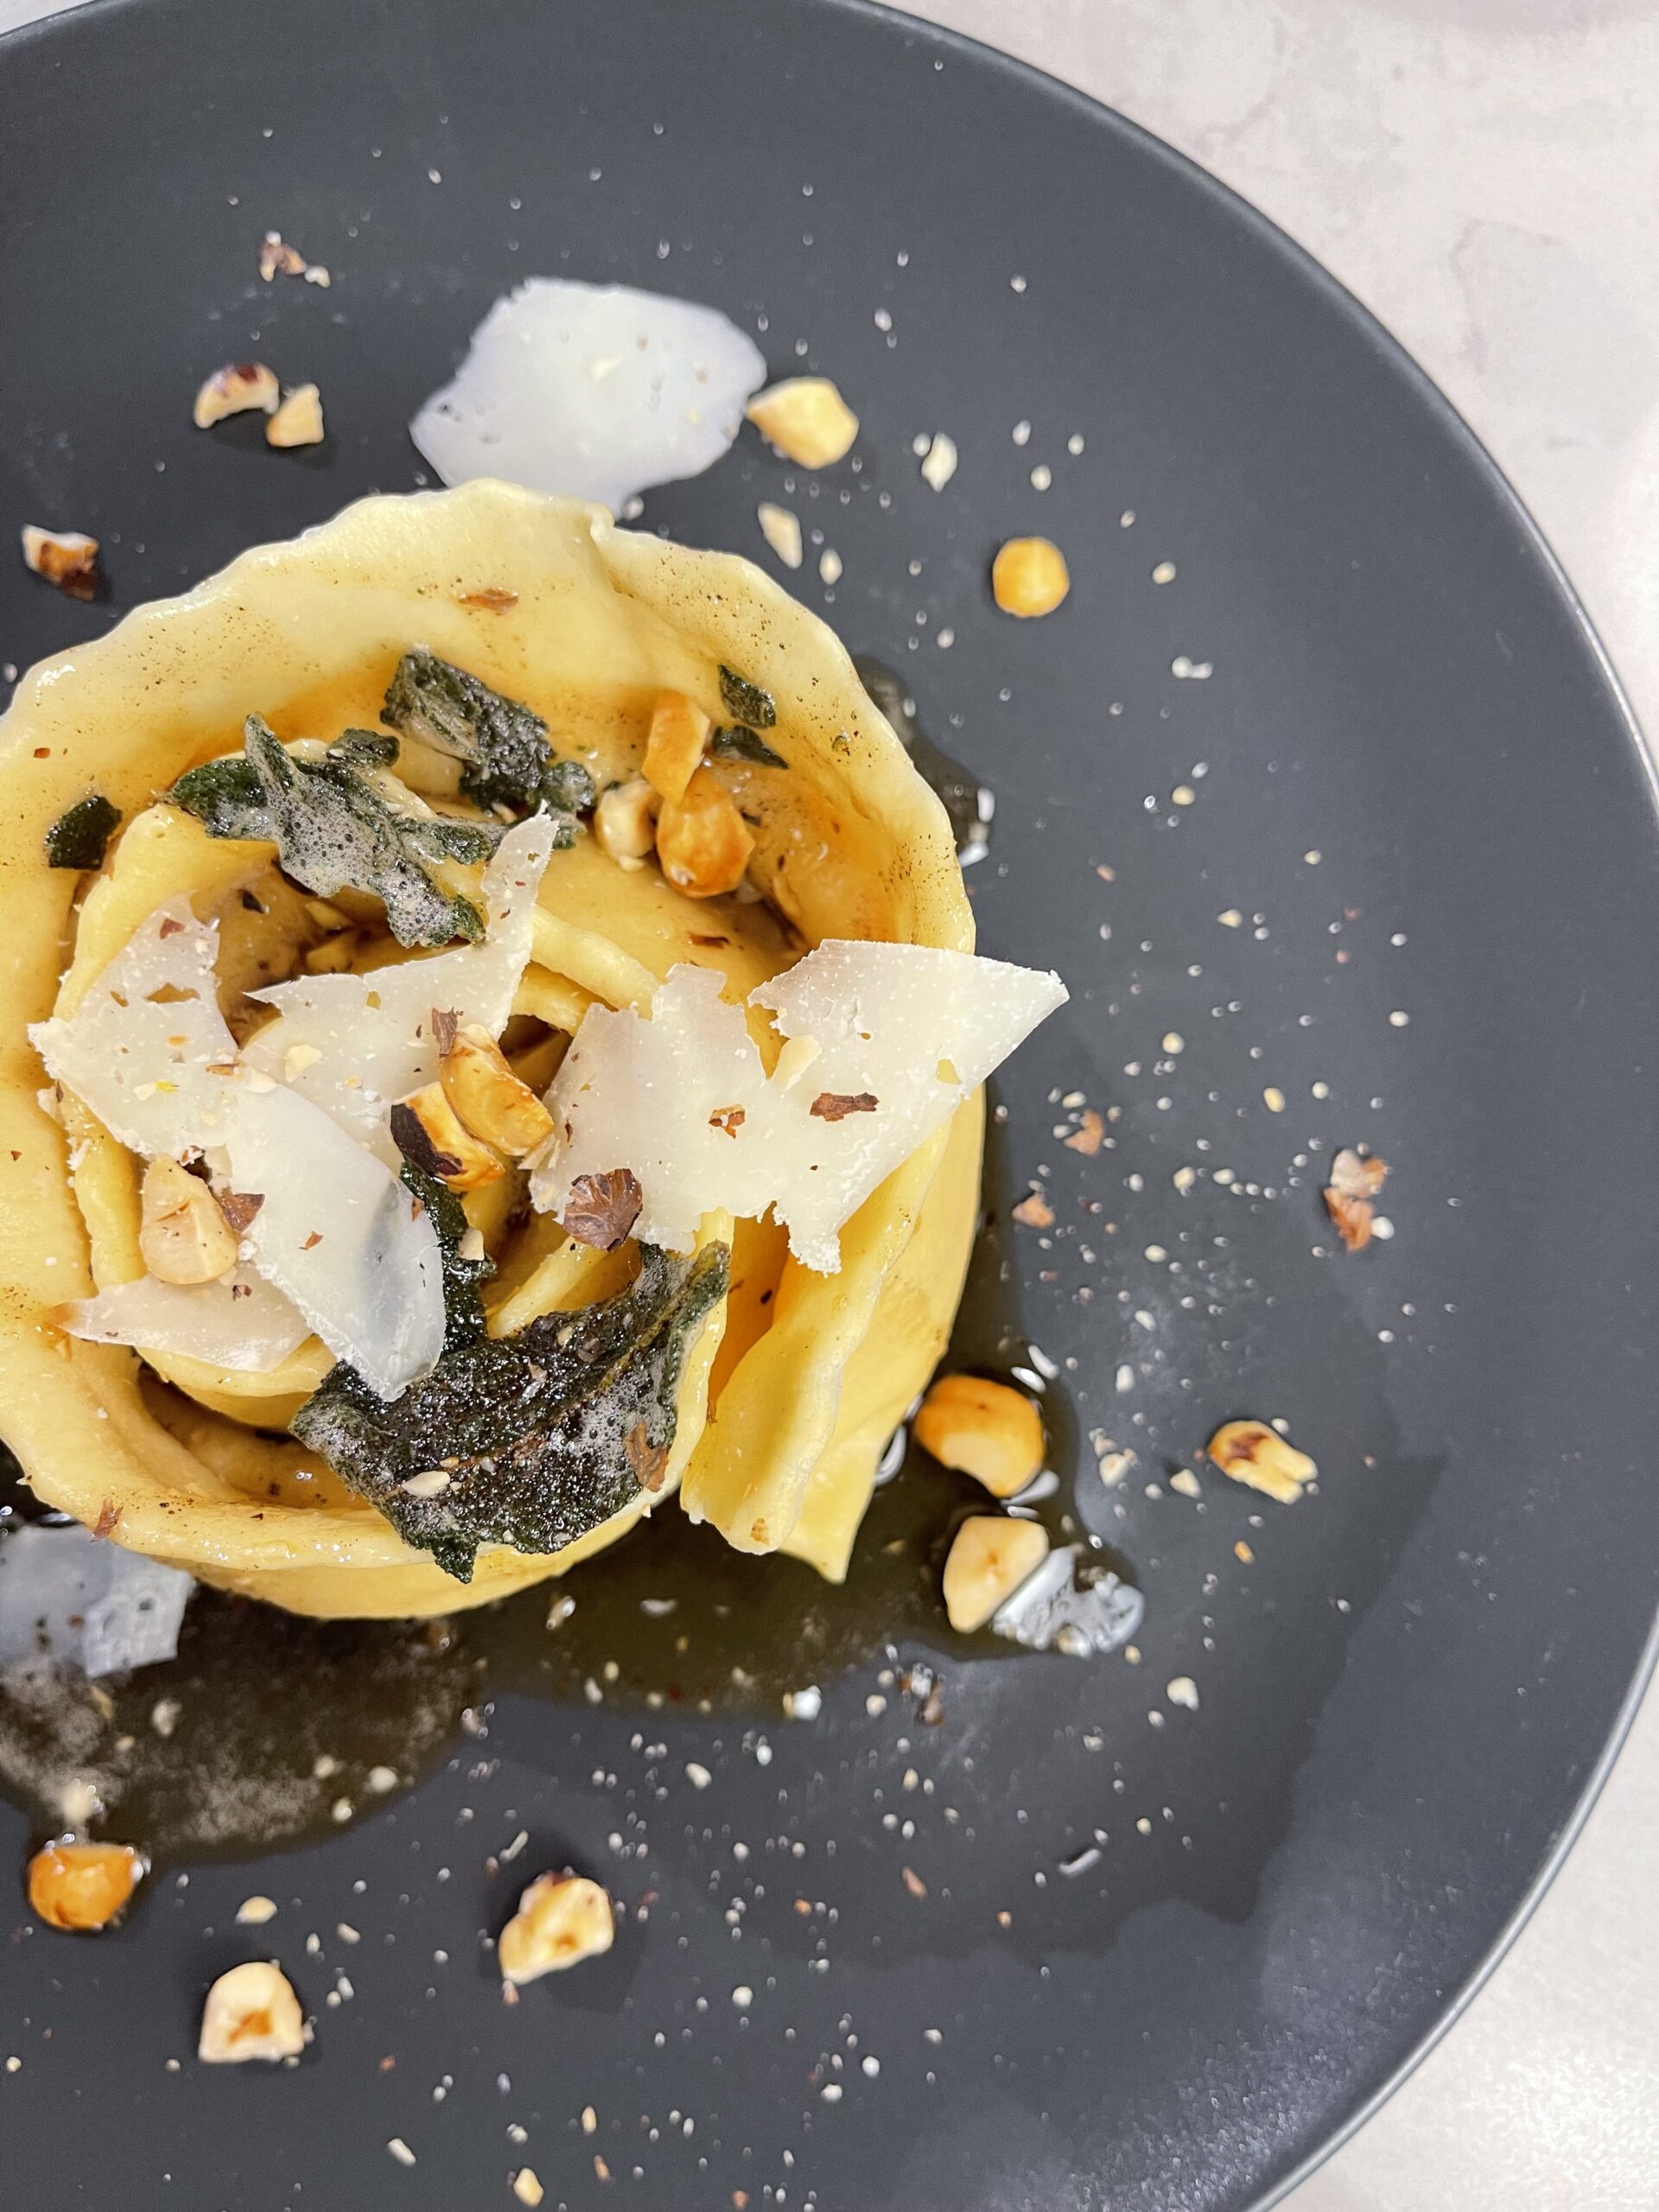
And when you consider that it’s not that difficult to make your own, there really is no reason not to! IG and Pinterest are full of inspiration. I recently became inspired while reading the 2024 “Canada’s 100 Best” when I came upon Bar Kismet, which was voted #9 in Canada. (Congrats!!) I have sadly not been yet, as it’s in Halifax and I live in Quebec (that’s a 9-hour drive for dinner). Making the trip last weekend was just not possible, however, I wondered… Could I make my own version of their Butternut Squash Crown with Brown Butter, Hazelnuts & Sage that looked so delicious in the magazine?
This “Can we make it ourselves?” challenge started many years ago when living in a small town with only a few restaurants to choose from on date night (pizza/burger joints mostly). So hubby and I would try to recreate what we had eaten in a recent restaurant when in the city, or what we had seen online, or in a recipe book.
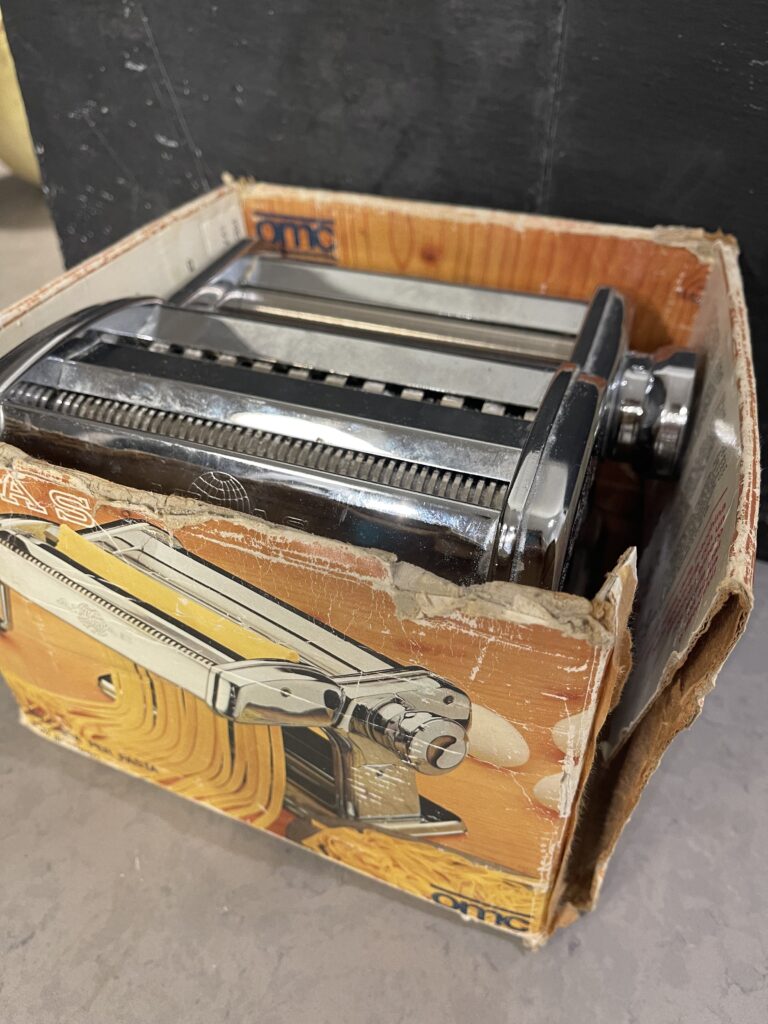
And so I took out my pasta maker left to me by my late grandmother (I think she knew it was going to get lots of use) and experimented. And you know what? It was delicious! A huge success! (high praise indeed coming from my crowd of boys.) I absolutely love it when that happens. I was so insanely happy when they said “It looked just like in the picture!” So here’s my version, in case you would also like to dine in, restaurant-style!
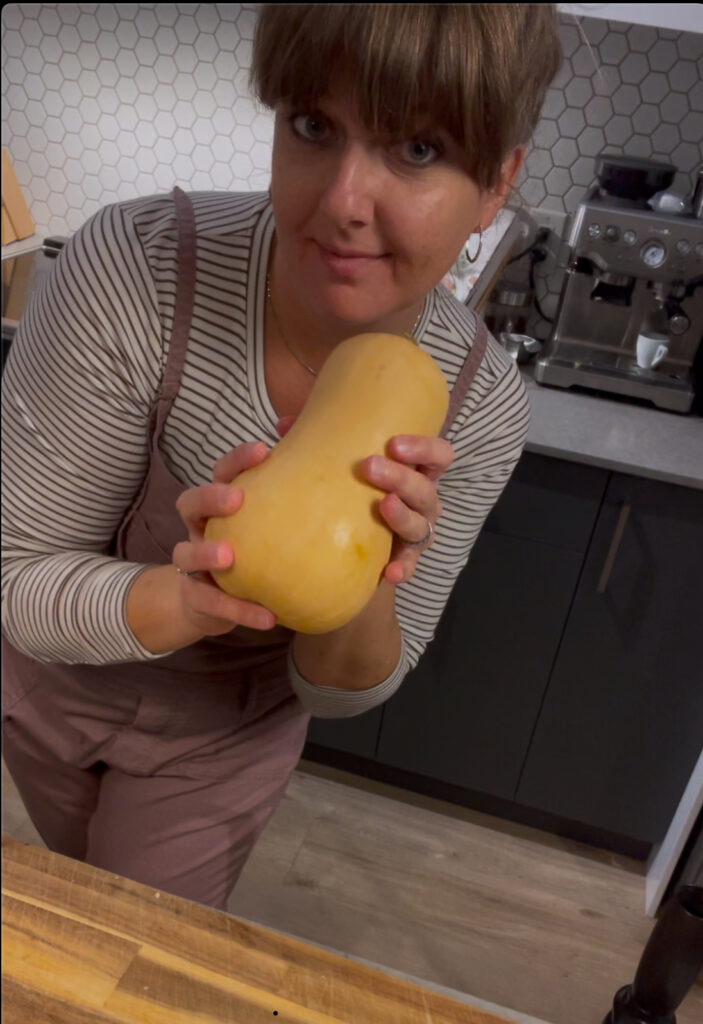
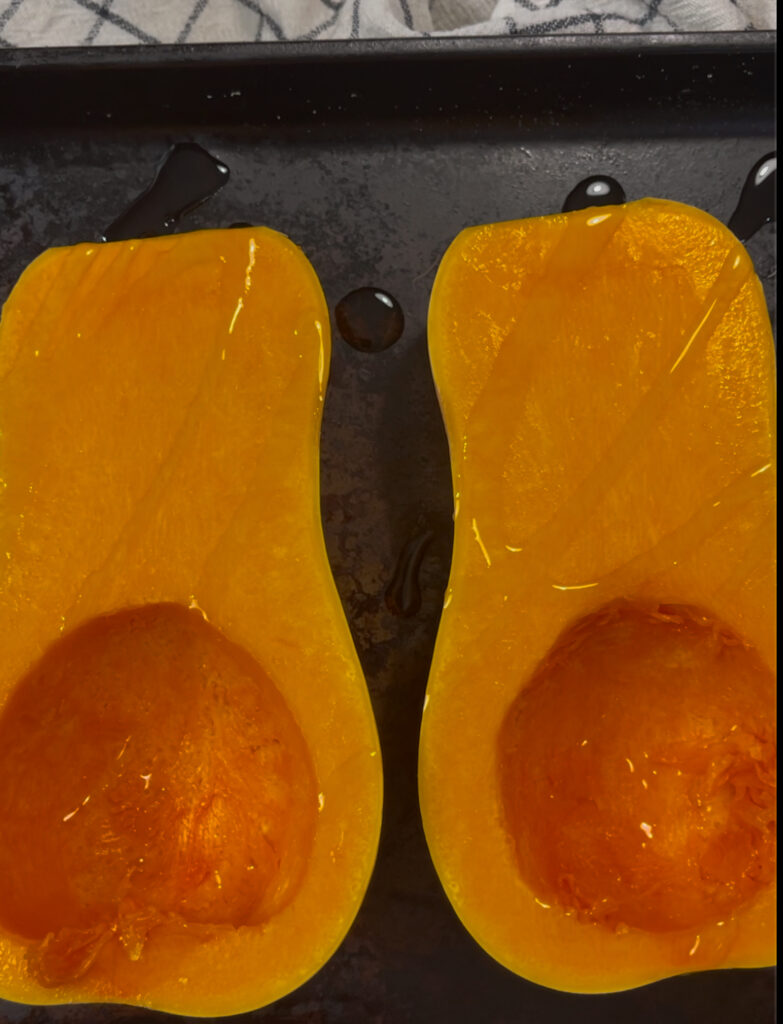
Let’s start with the star of the show: the butternut squash. Slice a small butternut squash (1-2 lbs)in half, drizzle with olive oil, sprinkle with salt and pepper and roast at 400 degrees F.
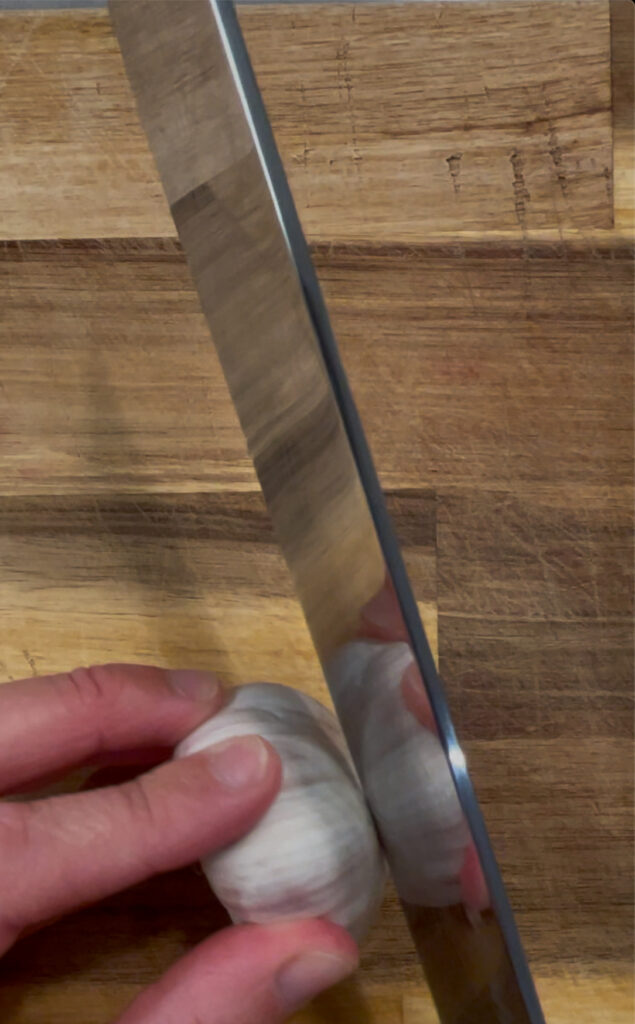
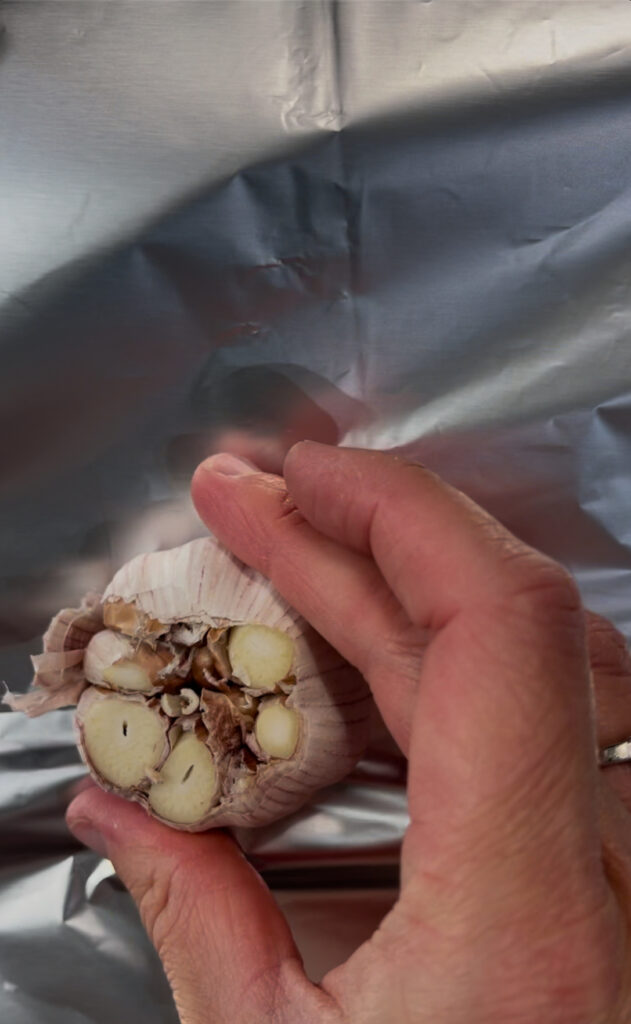
But as the squash roasts, you can also roast your garlic. 3 heads. Yes, 3 heads! Roasted garlic becomes caramelized and kind of sweet versus raw garlic, which is stronger and a little will do ya’. That being said my garlic heads were small, so adjust if yours are huge. Again, you can personalize and adjust this to your liking, and your family’s preferences. So you just slice a layer off the garlic head, exposing the cloves a little (keeping the bulb almost intact), and drizzle with olive oil, a little salt and pepper. Wrap in aluminum foil. Roast for 40-45 minutes along with the squash at 400 degrees.
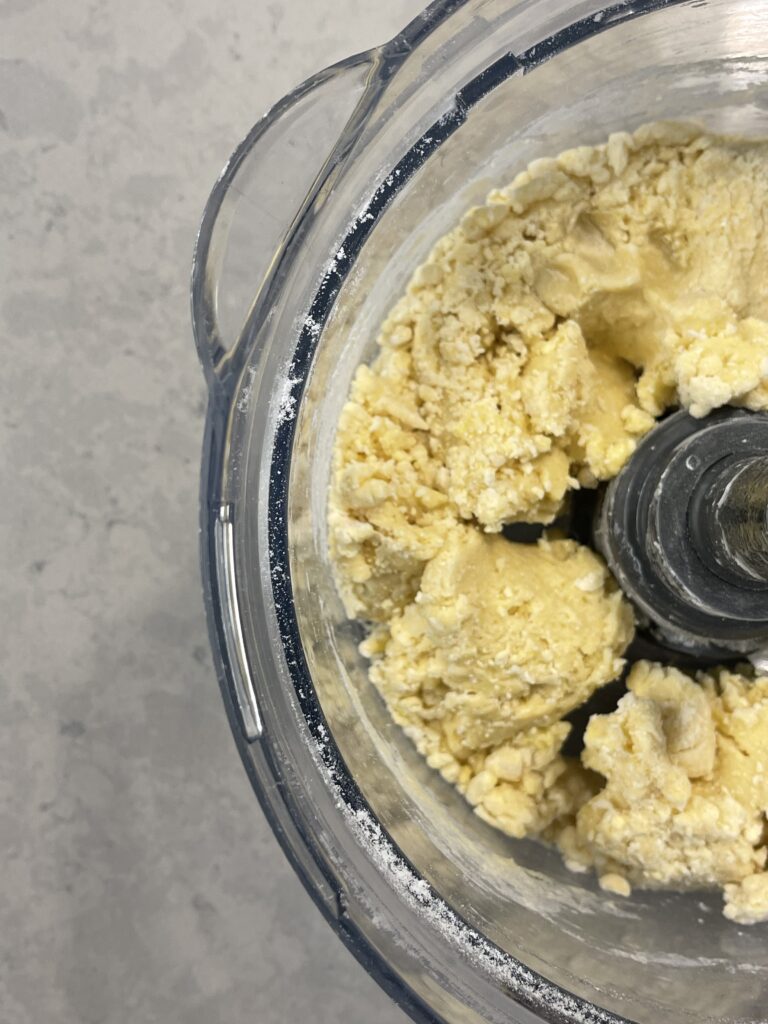
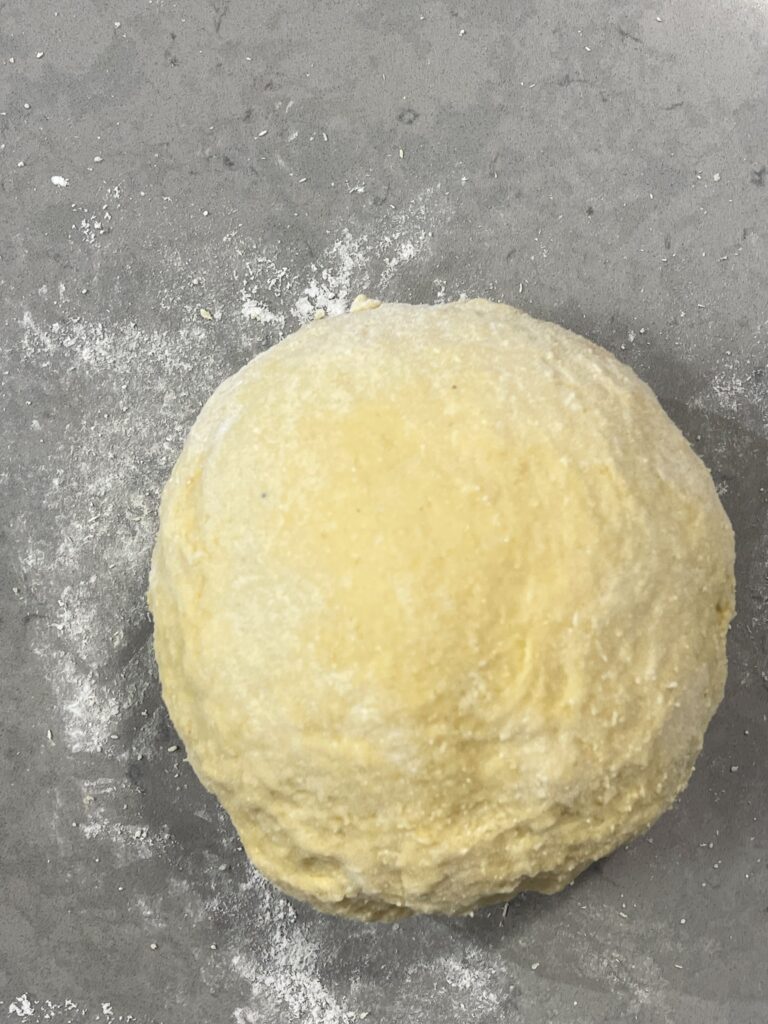
While the squash and garlic are roasting away and making your kitchen smell absolutely amazing, make your pasta dough. I often use Dinner a Love Story’s homemade pasta dough recipe from her cookbook (same name) page 228. This time I used Meryl Feinsteins’s standard egg pasta dough from her cookbook Pasta Every Day: Make It, Shape It, Sauce It, Eat It. (FYI: a great pasta reference!) It’s super easy to work with and has a gorgeous texture. Let it rest, covered while you prepare the filling.
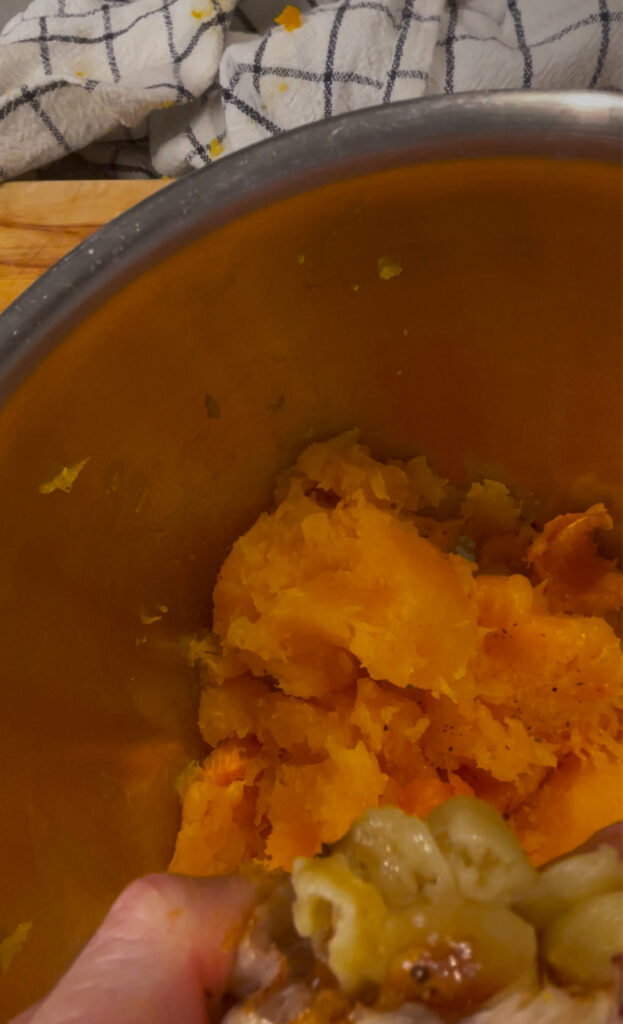
When the squash and garlic are done cooking, and have cooled a bit (much easier to squeeze the garlic out once it’s cooled, your fingertips will thank you!) scoop the butternut squash flesh out into a bowl, along with the caramelized garlic (this is where you would squeeze it). Add salt, pepper, 1/2 cup of mascarpone or ricotta (depending on the texture you want) and 1/2 cup of parmesan or pecorino. (Last time I used mascarpone and pecorino… soooo good)
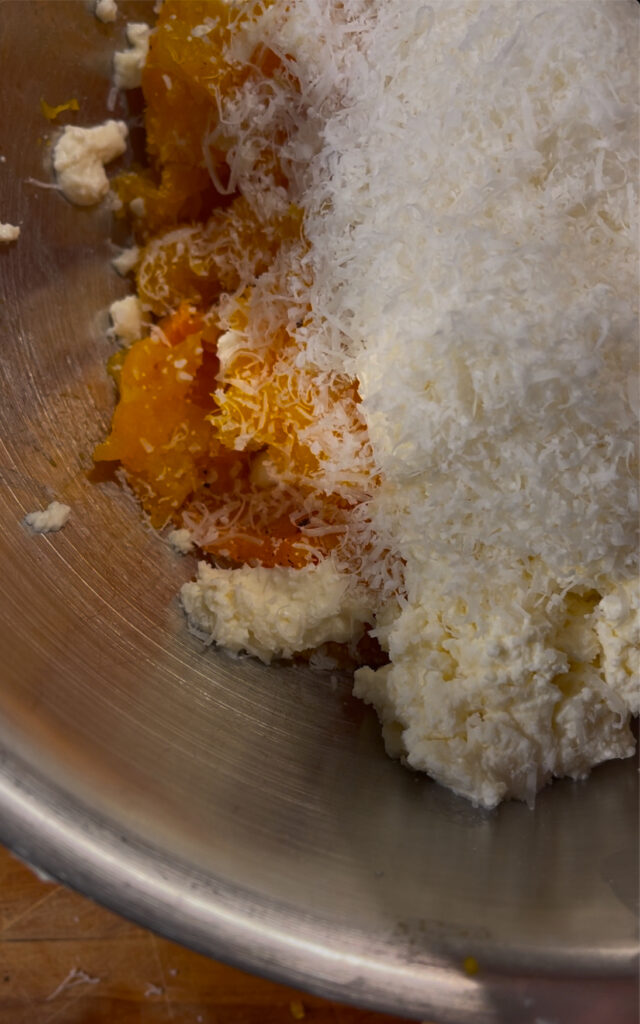
Once your filling is mixed, put it in something that will enable you to pipe it such as a pastry bag or a Ziploc bag like I did. If using a Ziploc bag snip the end off to make a 1/2 inch opening approximately. Then get ready to pipe your filling. Now you are ready to shape your pasta!
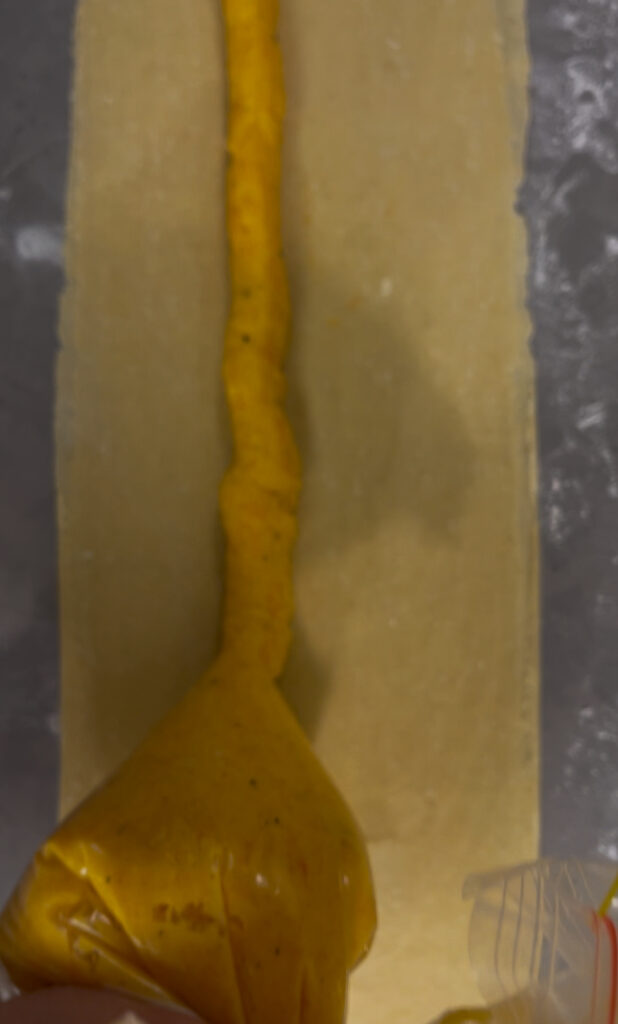
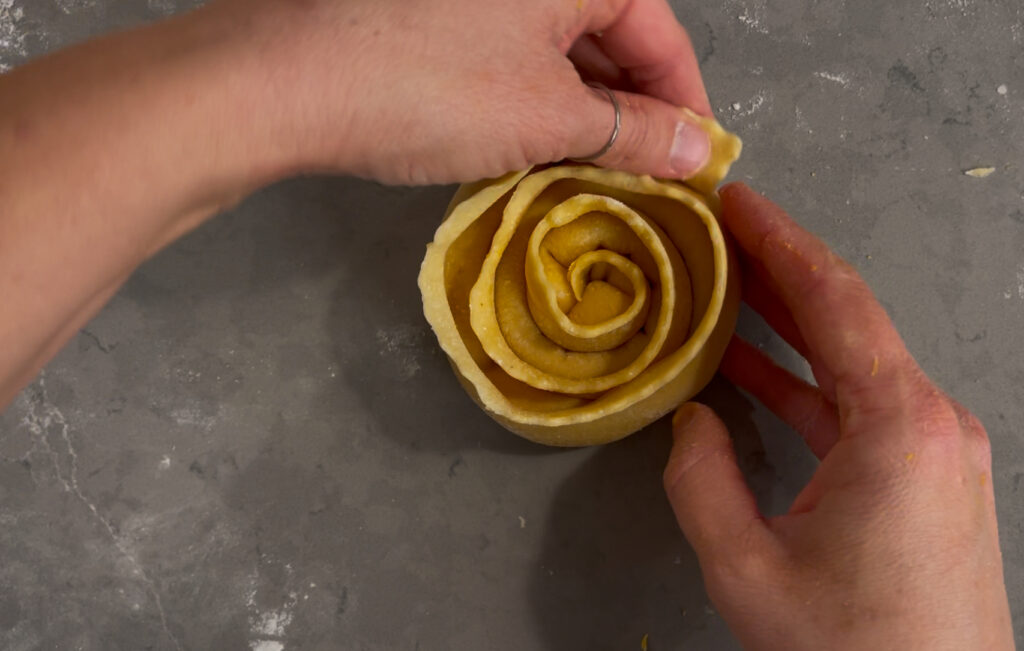
So many shapes to choose from, so I played around with the dough a bit and tried agnolotti, ravioli and then what I had seen in the magazine: a crown. It’s where you place a long “tube” of filling down the length of the sheet of pasta, fold over the dough, and leave quite a space at the top of the now stuffed dough, not trimming close to the filling, but leaving a wide edge. You then seal the ends, and roll up the long tube, kind of to resemble a snail’s shell, and voilà! Now repeat until you have used up all your dough and filling.
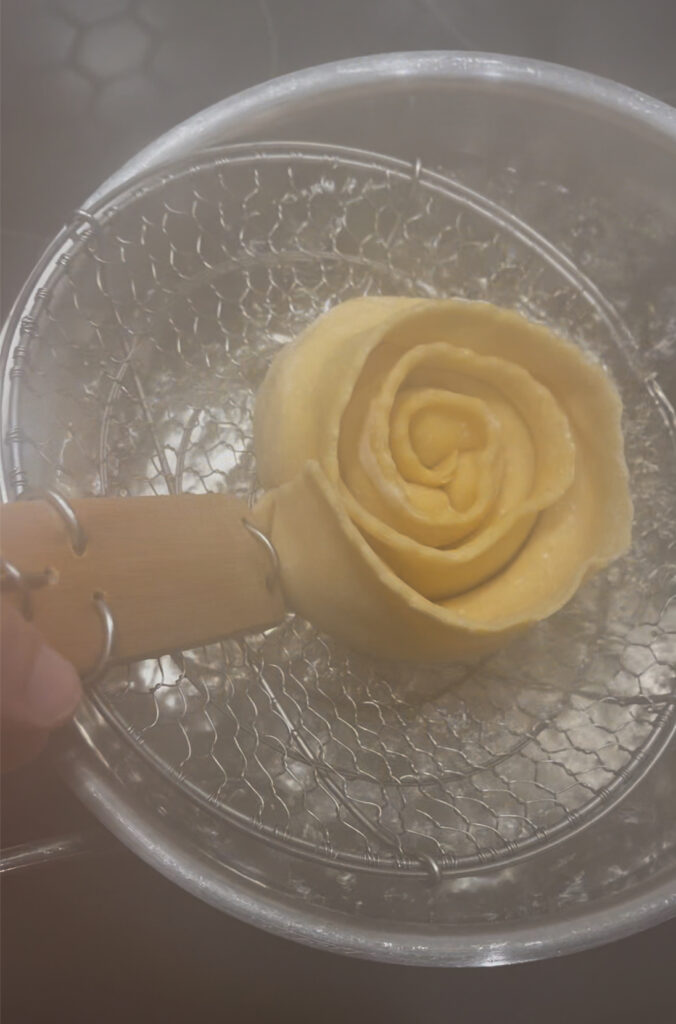
Next, boil some water (or boil it while shaping the pasta) and cook the pasta until it floats, this should only take a couple of minutes. And strain.
For the sauce, I just browned some butter, about a 1/2 cup and just as it melts and starts to foam (before it has browned) I add sage leaves, maybe 10 or so. Once browned take off the heat.
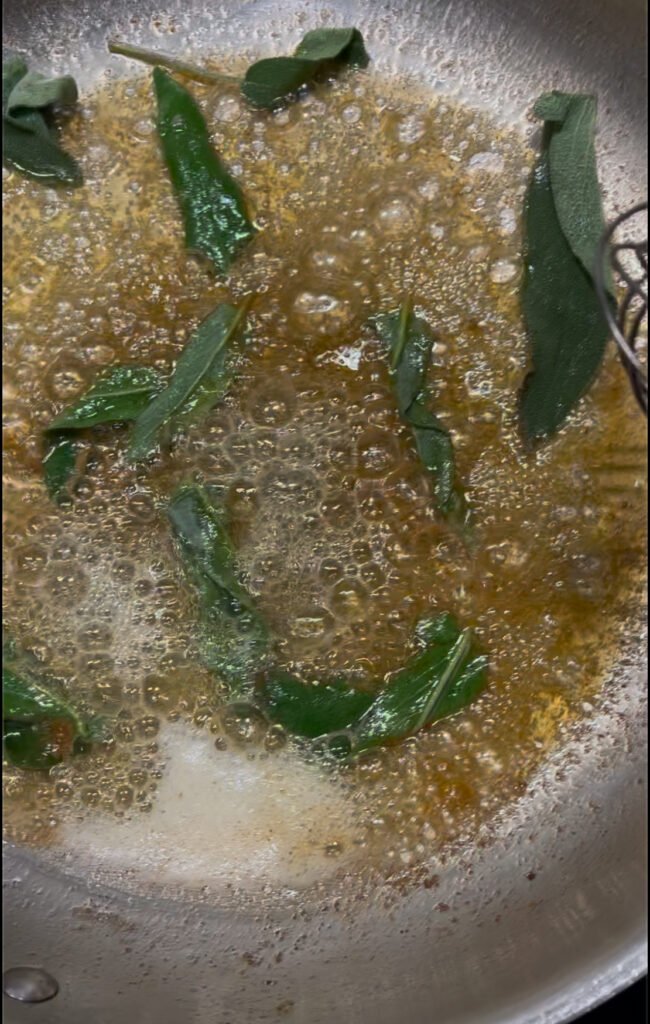
Here again, I played with the “sauce” a bit. I made a second batch where I melted the butter with the sage and then added some pasta water, about 1/2 cup, whisked until smooth and had a bit of thicker sauce to spoon over my pasta.
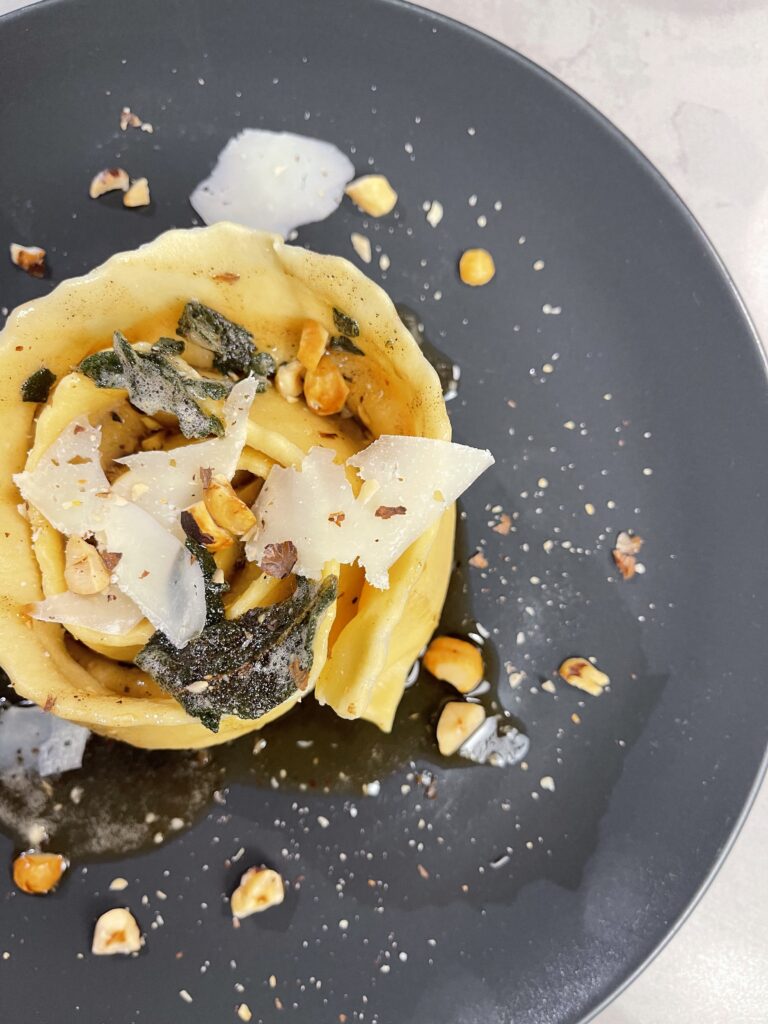
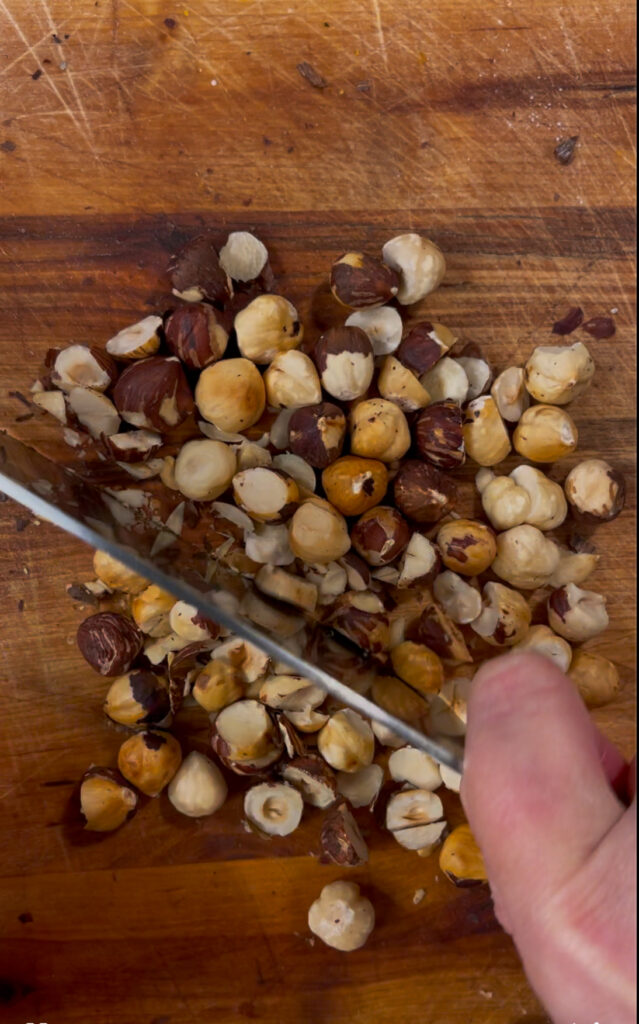
To serve and make it look restaurant-worthy, I sprinkled some toasted hazelnuts on top and shaved some curls of pecorino. I also tried it with some crispy prosciutto, and that was also delicious.
There are so many options and variants, you can really have some fun with this and make it your own!
You want the whole restaurant experience? Set a fancy table and serve with a good glass of red wine. Bon appétit and happy date night!
